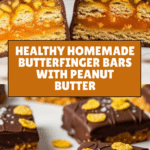
Healthy Homemade Butterfingers Recipe
Introduction
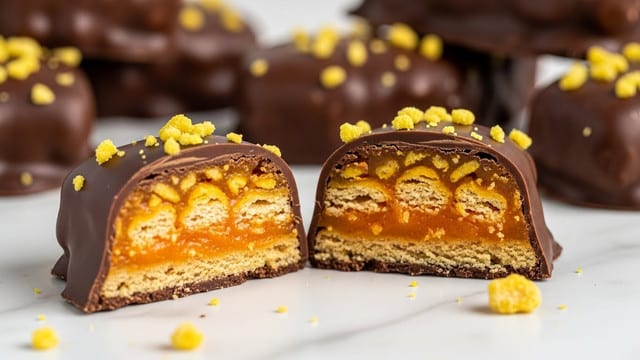
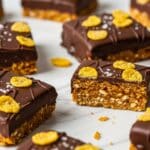
If you love the classic crunch and flavor of Butterfingers, this healthy homemade version is a delicious treat you can feel good about. Made with simple ingredients like peanut butter, corn flakes, and natural sweeteners, these bars are easy to whip up and perfect for snacking.
Ingredients
- 1 cup peanut butter
- 1/3 cup maple syrup or honey
- 2 cups corn flakes
- 1 cup chocolate chips
- 2 teaspoons coconut oil
Instructions
- Step 1: Add the corn flakes to a large zip-top bag, seal the bag, and crush the cereal into small pieces.
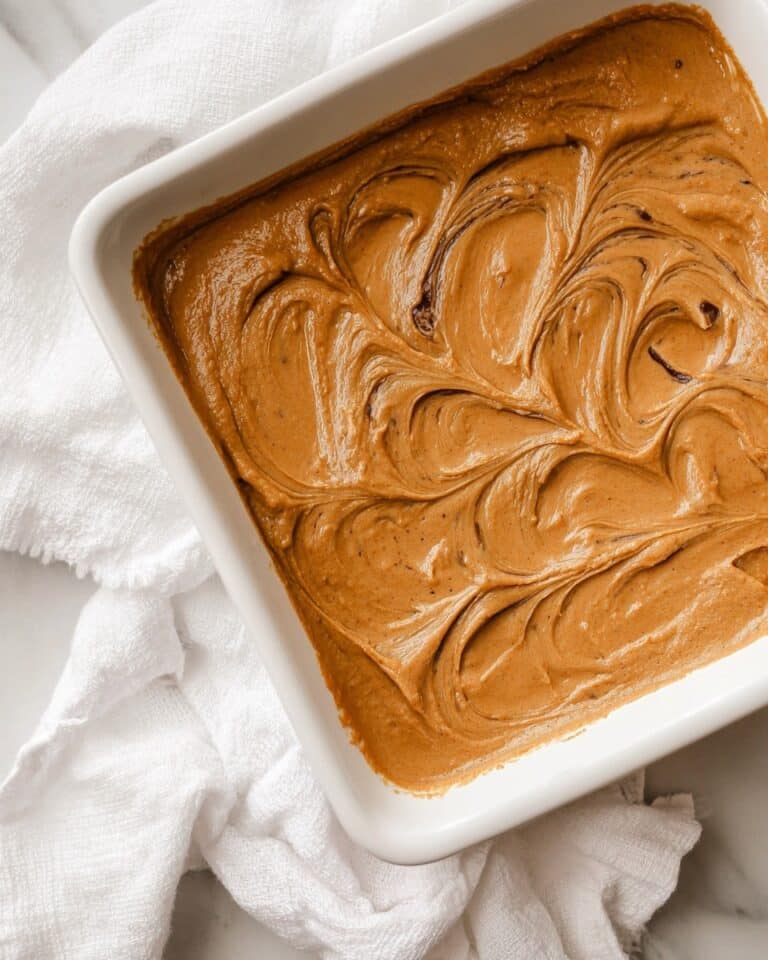
- Step 2: In a large bowl, mix the peanut butter and maple syrup or honey until combined. Add the crushed corn flakes and stir well to evenly coat.
- Step 3: Line a loaf pan with parchment paper and transfer the mixture into it. Press down firmly to create an even layer. Place the pan in the freezer for at least 1 hour to harden.
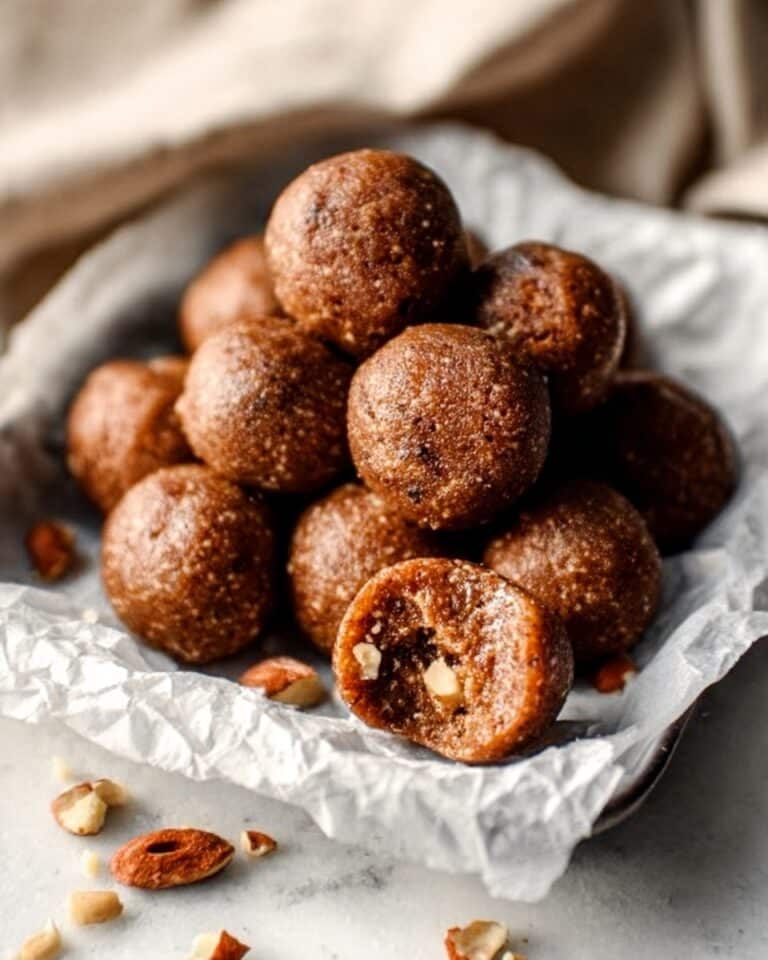
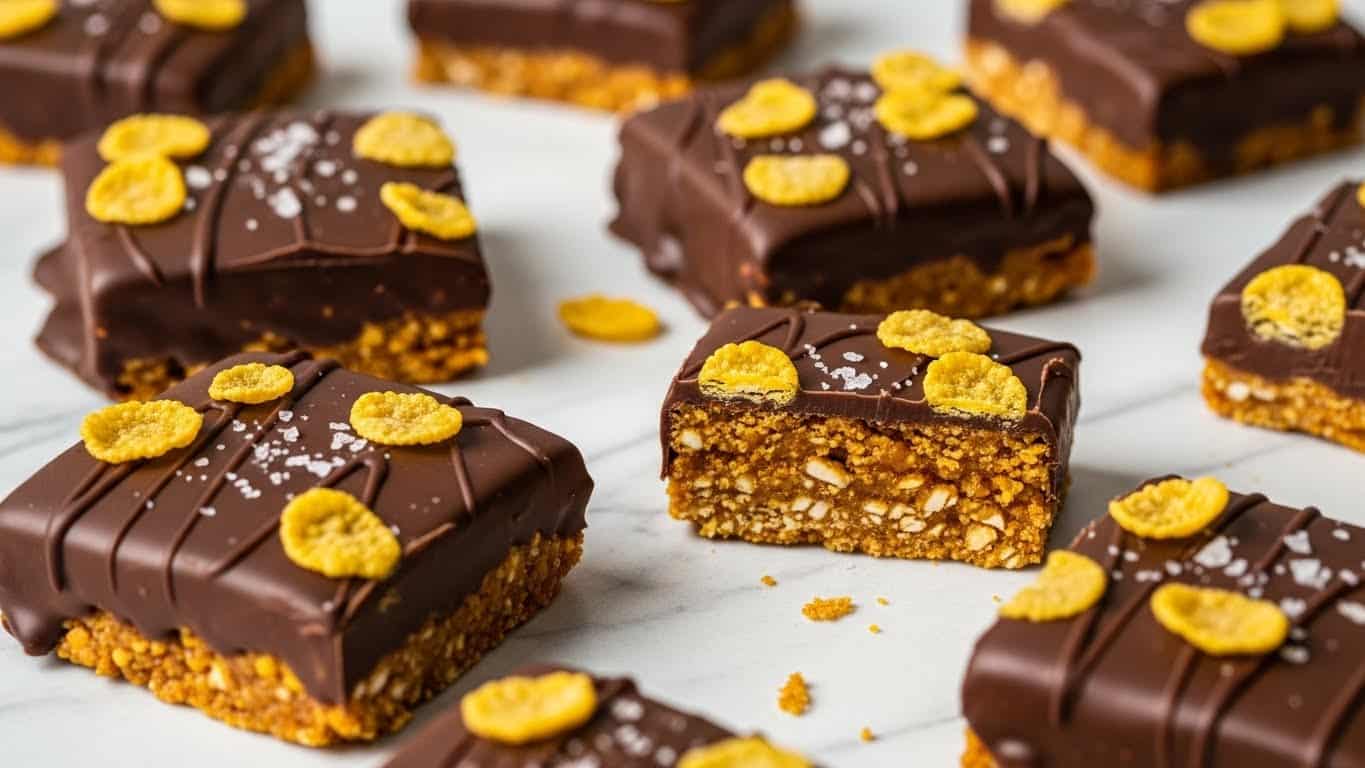
- Step 4: Remove the pan from the freezer. Carefully lift out the hardened mixture using the parchment paper. Place it on a cutting board and cut into 12 bars.
- Step 5: Melt the chocolate chips and coconut oil together, stirring until smooth. Dip each bar into the melted chocolate to completely coat it. Set the coated bars on a parchment-lined plate.
- Step 6: Return the coated bars to the freezer for about 10 minutes, or until the chocolate hardens. Enjoy immediately or store as directed.
Tips & Variations
- For a nut-free version, substitute peanut butter with sunflower seed butter and choose your favorite nut-free cereal.
- Swap maple syrup with honey or agave syrup depending on your preference.
- Add a pinch of sea salt to the peanut butter mixture to enhance the flavor balance.
- Use dark chocolate chips for a richer taste and a slightly healthier option.
Storage
Store the homemade Butterfingers in an airtight container in the freezer for up to 3 months. When ready to enjoy, you can eat them straight from the freezer or let them sit at room temperature for a few minutes to slightly soften the texture.
How to Serve
Serve this delicious recipe with your favorite sides.
FAQs
Can I use a different cereal instead of corn flakes?
Yes, you can try other crunchy cereals like Rice Krispies or shredded wheat, but the texture and flavor will vary slightly.
How do I melt the chocolate without burning it?
Use a double boiler or microwave the chocolate chips and coconut oil in short 20-30 second bursts, stirring between each until smooth to prevent burning.
PrintHealthy Homemade Butterfingers Recipe
This recipe makes healthy homemade Butterfingers, combining creamy peanut butter, crunchy corn flakes, sweet maple syrup or honey, and a rich chocolate coating. These bars are easy to prepare, require no baking, and can be enjoyed as a delicious snack or treat with wholesome ingredients.
- Prep Time: 15 minutes
- Cook Time: 0 minutes
- Total Time: 1 hour 25 minutes
- Yield: 12 bars 1x
- Category: Snack
- Method: No-Cook
- Cuisine: American
- Diet: Gluten Free
Ingredients
Base Mixture
- 1 cup peanut butter
- 1/3 cup maple syrup or honey
- 2 cups corn flakes
Chocolate Coating
- 1 cup chocolate chips
- 2 teaspoons coconut oil
Instructions
- Crush the Corn Flakes: Place the corn flakes into a large zip-top bag, seal it tightly, and crush the cereal into small pieces using a rolling pin or a similar tool to create a fine crunch base.
- Mix Peanut Butter Mixture: In a large bowl, combine the peanut butter with the maple syrup or honey. Stir well until thoroughly mixed. Then add the crushed corn flakes and fold gently until the cereal is evenly coated with the peanut butter mixture.
- Form the Bars: Line a loaf pan with parchment paper for easy removal. Transfer the mixture into the pan and press firmly down to create an even, compact layer. Place the pan in the freezer for at least 1 hour to let it harden and set.
- Cut Into Bars: Remove the pan from the freezer. Carefully lift the hardened mixture out using the parchment paper. Place on a cutting board and cut into 12 equal-sized bars with a sharp knife.
- Prepare the Chocolate Coating: Melt the chocolate chips and coconut oil together in a microwave-safe bowl or over a double boiler, stirring until smooth and combined. Immediately dip each bar into the melted chocolate, fully coating it.
- Set the Coated Bars: Remove the dipped bars one by one, and set them on a parchment-lined plate. Repeat until all bars are coated. Place the coated bars back in the freezer for about 10 minutes, or until the chocolate becomes firm.
- Storage and Serving: Enjoy the Butterfingers immediately after the chocolate sets, or store them in an airtight container in the freezer for up to 3 months for optimal freshness.
Notes
- You can substitute maple syrup with honey depending on your preference or dietary restrictions.
- Use natural peanut butter for a healthier option, but ensure it’s well mixed before combining.
- Press the mixture firmly into the pan to ensure the bars hold together well after freezing.
- The chocolate coating hardens quickly in the freezer, so work fast when dipping.
- Store the bars in the freezer rather than the fridge to keep the chocolate from melting and to maintain texture.
Keywords: Healthy Butterfingers, Homemade Butterfingers, No-Bake Snack, Peanut Butter Bars, Gluten-Free Snack