Protein Cheesecake Cups Recipe
Introduction
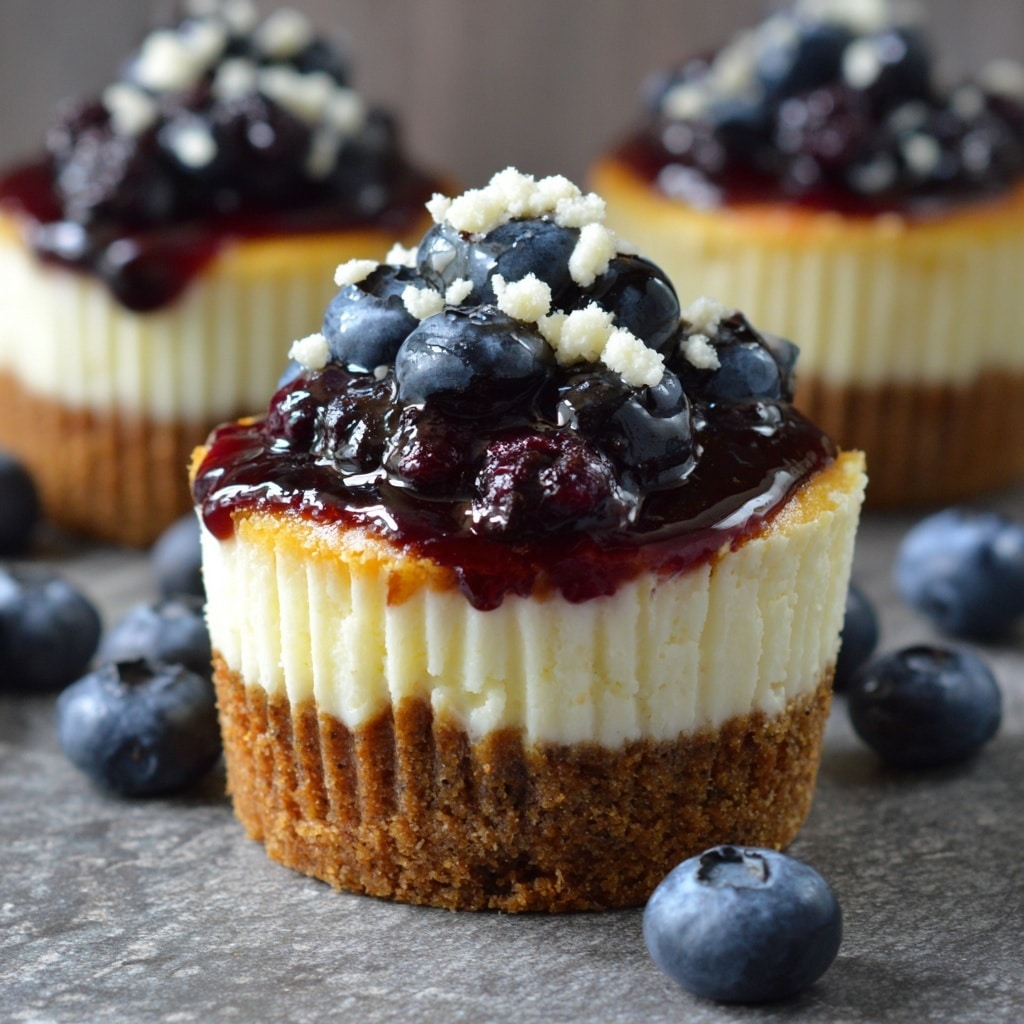
These Protein Cheesecake Cups are a delicious and healthy treat that combines creamy cheesecake with a nutty, wholesome base. Perfect for a snack or dessert, they are easy to make and packed with protein to satisfy your cravings.
Ingredients
- 1 cup oat flour or almond flour for gluten-free option
- 1/4 cup almond butter or peanut butter
- 2 tablespoons honey or maple syrup
- Pinch of salt
- 8 ounces reduced-fat cream cheese, softened
- 3/4 cup plain non-fat or low-fat Greek yogurt
- 2 scoops vanilla whey protein powder (approximately 60 grams)
- 2 tablespoons honey or maple syrup
- 1 teaspoon vanilla extract
- Zest of 1 lemon (optional)
- Fresh berries (for garnish)
- Chopped nuts (for garnish)
- Dark chocolate shavings (for garnish)
Instructions
- Step 1: In a medium bowl, combine oat flour, almond butter, honey, and a pinch of salt. Mix until a crumbly dough forms.
- Step 2: Distribute the base mixture evenly into 6 muffin liners placed in a muffin tin. Press firmly to form a crust layer.
- Step 3: In a clean bowl, beat the softened cream cheese until smooth. Add Greek yogurt, vanilla whey protein powder, honey, vanilla extract, and lemon zest if using. Mix thoroughly until the filling is creamy and homogeneous.
- Step 4: Spoon the cheesecake filling evenly over each crust, smoothing the surface with the back of a spoon.
- Step 5: Garnish each cup with fresh berries, chopped nuts, and dark chocolate shavings as desired.
- Step 6: Refrigerate the cheesecake cups for at least 2 hours to set and firm up.
- Step 7: Remove from muffin liners and serve chilled for a delightful protein-packed dessert.
Tips & Variations
- Substitute almond butter with peanut butter or any nut butter you prefer for different flavors.
- Use maple syrup instead of honey for a vegan option.
- Add a pinch of cinnamon or nutmeg to the crust mixture for extra warmth and spice.
- Try mixing in different protein powder flavors like chocolate or strawberry to vary taste.
- For a no-bake crust, press the base mixture firmly and chill thoroughly before adding the filling.
Storage
Store the protein cheesecake cups in an airtight container in the refrigerator for up to 4 days. For longer storage, freeze them for up to 1 month and thaw in the fridge overnight before serving. Reheat is not recommended; best enjoyed chilled.
How to Serve
Serve this delicious recipe with your favorite sides.
FAQs
Can I make these cheesecake cups dairy-free?
Yes, you can use dairy-free cream cheese and plant-based yogurt to make a dairy-free version. Choose a vegan protein powder to keep it consistent.
How many servings does this recipe make?
This recipe makes 6 cheesecake cups, perfect for individual servings or sharing as a healthy dessert option.
PrintProtein Cheesecake Cups Recipe

These Protein Cheesecake Cups are a delicious and healthy twist on traditional cheesecake, perfect for a guilt-free dessert or snack. Made with a gluten-free crust option and packed with protein from whey powder and Greek yogurt, they offer a creamy, satisfying treat topped with fresh berries, nuts, or dark chocolate shavings. Ready in under 3 hours with no baking required, these cups are easy to prepare and ideal for meal prepping or a quick protein boost.
- Prep Time: 15 minutes
- Cook Time: 0 minutes
- Total Time: 2 hours 15 minutes
- Yield: 6 cups 1x
- Category: Dessert
- Method: No-Cook
- Cuisine: American
- Diet: Gluten Free
Ingredients
Crust Ingredients
- 1 cup oat flour or almond flour for gluten-free option
- 1/4 cup almond butter or peanut butter
- 2 tablespoons honey or maple syrup
- Pinch of salt
Filling Ingredients
- 8 ounces reduced-fat cream cheese, softened
- 3/4 cup plain non-fat or low-fat Greek yogurt
- 2 scoops vanilla whey protein powder (approximately 60 grams)
- 2 tablespoons honey or maple syrup
- 1 teaspoon vanilla extract
- Zest of 1 lemon (optional)
Toppings
- Fresh berries
- Chopped nuts
- Dark chocolate shavings
Instructions
- Prepare Base Mixture: In a medium bowl, combine oat flour, almond butter, honey, and a pinch of salt. Mix until a crumbly dough forms to create the crust base.
- Form Base Crusts: Distribute the base mixture evenly into 6 muffin liners placed in a muffin tin. Press firmly to form an even crust layer for each cheesecake cup.
- Blend Filling: In a clean bowl, beat the softened cream cheese until smooth. Add Greek yogurt, vanilla whey protein powder, honey, vanilla extract, and lemon zest. Mix thoroughly until the filling is creamy and uniform.
- Assemble Cups: Spoon the prepared cheesecake filling evenly over each crust, smoothing the surface with the back of a spoon or spatula.
- Add Toppings: Garnish each cheesecake cup with your choice of fresh berries, chopped nuts, or dark chocolate shavings to add flavor and texture.
- Chill: Refrigerate the assembled cups for at least 2 hours, or until set and firm, allowing the flavors to meld and the texture to solidify.
- Serve: Remove the cheesecake cups from the muffin liners and serve chilled for a refreshing, protein-packed treat.
Notes
- For a gluten-free dessert, use almond flour instead of oat flour.
- Honey or maple syrup can be substituted based on dietary preference or availability.
- Lemon zest is optional but adds a bright, fresh flavor to the filling.
- These cheesecake cups require refrigeration time for best texture; avoid freezing as it may affect consistency.
- You can customize toppings with your favorite nuts, seeds, or fruits.
Keywords: protein cheesecake, no-bake cheesecake, high protein dessert, gluten free dessert, healthy cheesecake cups, whey protein recipes, low fat cheesecake