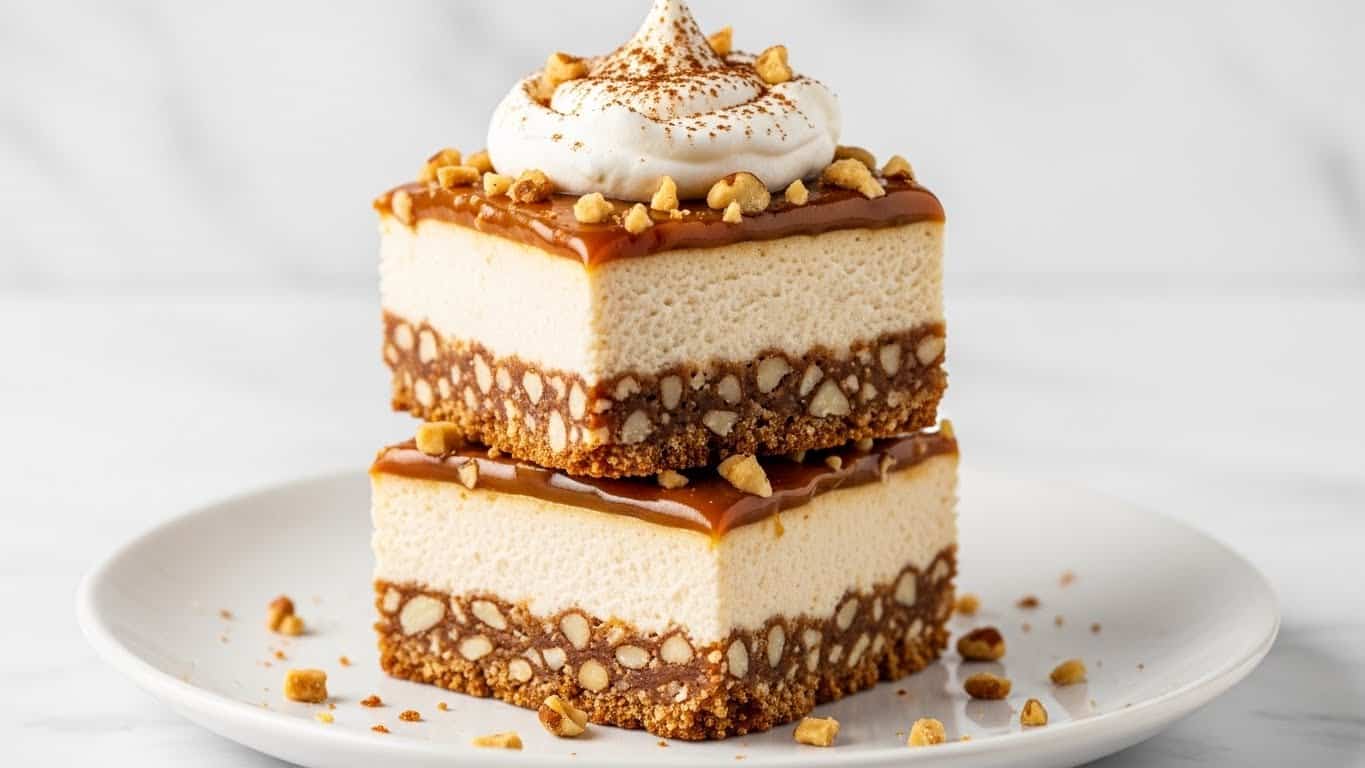
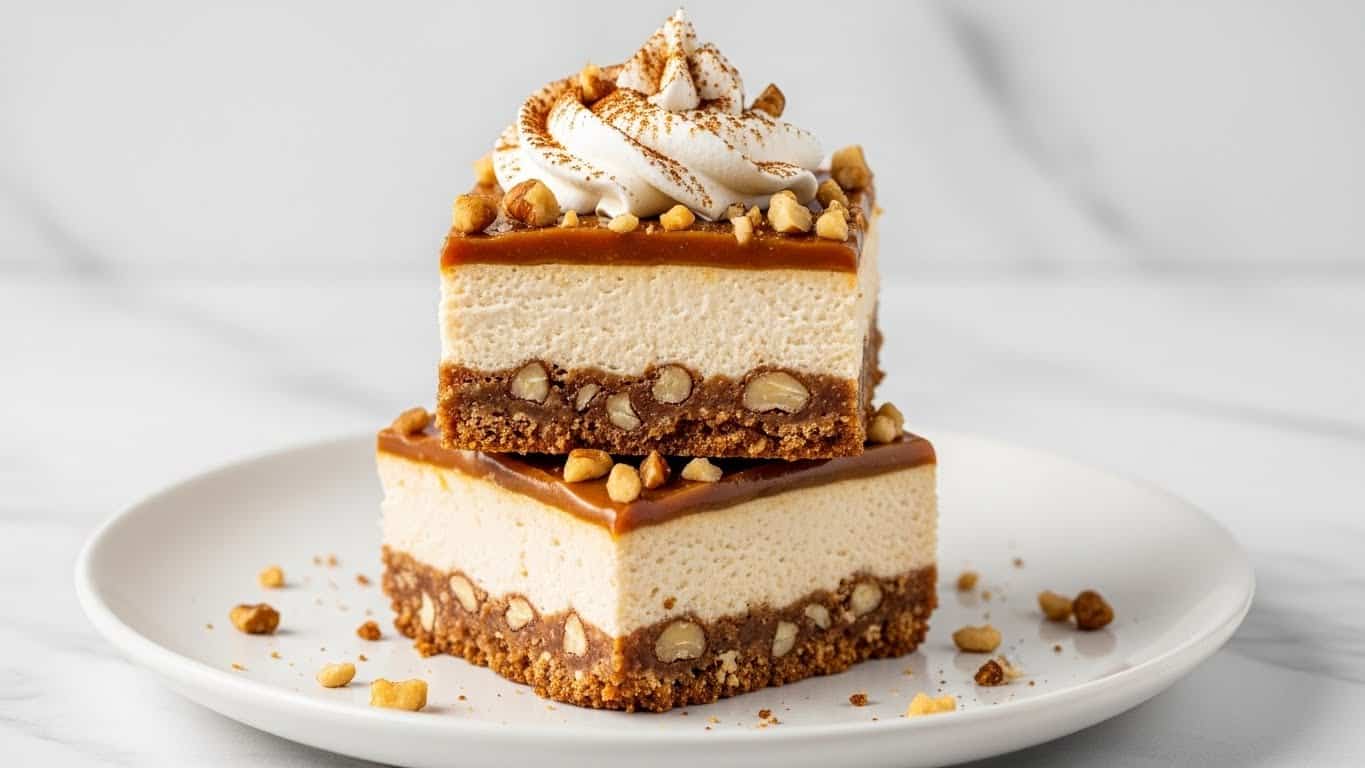
The BEST Pumpkin Cheesecake Bars Recipe
Introduction
If you’re looking for a dessert that perfectly captures the flavors of fall, these Pumpkin Cheesecake Bars are a must-try. Creamy, spiced, and full of pumpkin goodness, they make a delightful treat for any occasion. Plus, they’re easy to make and sure to impress your friends and family.
Ingredients
- 1 1/2 cups (150g) graham cracker crumbs
- 1/4 cup (50g) granulated sugar
- 1/2 cup (115g) unsalted butter, melted
- 16 oz (450g) cream cheese, softened
- 3/4 cup (150g) granulated sugar
- 1 cup (240g) pumpkin puree, unsweetened
- 2 large eggs, at room temperature
- 1 teaspoon vanilla extract
- 1 teaspoon ground cinnamon
- 1/2 teaspoon ground nutmeg
- 1/4 teaspoon ground ginger
Instructions
- Step 1: Preheat your oven to 325°F (163°C) and line an 8×8-inch baking pan with parchment paper, leaving some overhang for easy lifting. In a bowl, mix graham cracker crumbs, sugar, and melted butter until the texture resembles wet sand. Press firmly into the bottom of the pan and bake for 10 minutes to set the crust.
- Step 2: While the crust cools slightly, beat the softened cream cheese and sugar in a large bowl until smooth and creamy. Add pumpkin puree, eggs, vanilla extract, cinnamon, nutmeg, and ginger. Mix thoroughly, scraping down the bowl sides to ensure all ingredients are combined evenly.
- Step 3: Pour the cheesecake filling over the pre-baked crust and smooth the top with a spatula. Bake for about 40 minutes, or until the center is just slightly jiggly. If needed, bake for an additional 5 minutes until set.
- Step 4: Allow the bars to cool at room temperature for one hour, then refrigerate for at least 4 hours or overnight for the best texture and flavor.
- Step 5: Use the parchment paper overhang to lift the bars from the pan. Slice into squares using a knife warmed under hot water and dried for clean cuts. Serve and enjoy your delicious pumpkin cheesecake bars!
Tips & Variations
- Melt dark chocolate and drizzle over cooled bars for an indulgent chocolate twist.
- Replace half the graham cracker crumbs with crushed pecans or walnuts for a nutty crust.
- Stir 2 tablespoons of maple syrup into the filling for a sweeter, autumnal flavor.
- Add 1/2 cup white chocolate chips to the filling before baking for bursts of sweetness.
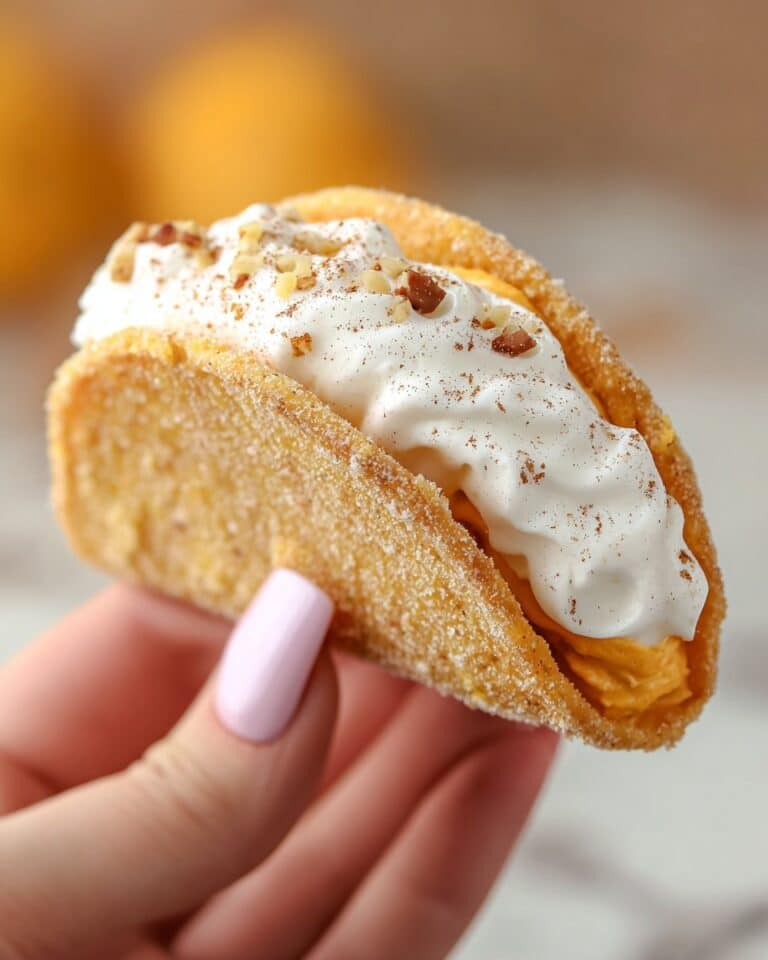
- Top with whipped cream mixed with a pinch of cinnamon to add a spiced creamy finish.
- Use gluten-free graham crackers to make these bars gluten-free without sacrificing taste.
- Add 1 tablespoon bourbon to the filling for a subtle boozy depth that bakes off but leaves flavor.
- Drizzle store-bought or homemade salted caramel over the bars after cooling for extra indulgence.
Storage
Store the pumpkin cheesecake bars in an airtight container in the refrigerator for up to 5 days. For longer storage, freeze the bars wrapped well in plastic wrap and foil for up to 2 months. Thaw overnight in the fridge before serving. To reheat, let bars reach room temperature or enjoy them chilled for the best texture.
How to Serve
Serve this delicious recipe with your favorite sides.
FAQs
Can I use canned pumpkin for the puree?
Yes, canned pumpkin puree works perfectly as long as it is pure pumpkin and not pumpkin pie filling, which contains added spices and sugar.
How do I prevent cracks in the cheesecake bars?
Make sure to mix the cream cheese until smooth and avoid overbaking. The center should be slightly jiggly when done, as it will set fully while cooling. Also, using room temperature eggs helps keep the batter smooth and reduces cracking.
PrintThe BEST Pumpkin Cheesecake Bars Recipe
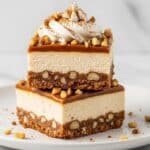
These Pumpkin Cheesecake Bars combine a buttery graham cracker crust with a creamy, spiced pumpkin cheesecake filling for the perfect fall dessert. Rich yet balanced with cozy spices like cinnamon, nutmeg, and ginger, these bars are perfect for holiday gatherings or any autumn craving. The recipe is versatile, allowing fun variations like chocolate drizzle, nuts, or maple syrup additions, while always delivering a deliciously smooth, festive treat.
- Prep Time: 20 minutes
- Cook Time: 40 minutes
- Total Time: 1 hour (plus at least 4 hours chilling)
- Yield: 12–16 bars 1x
- Category: Dessert
- Method: Baking
- Cuisine: American
Ingredients
For the Crust
- 1 1/2 cups (150g) graham cracker crumbs, finely ground
- 1/4 cup (50g) granulated sugar
- 1/2 cup (115g) unsalted butter, melted
For the Pumpkin Cheesecake Filling
- 16 oz (450g) cream cheese, softened to room temperature
- 3/4 cup (150g) granulated sugar
- 1 cup (240g) pumpkin puree, unsweetened
- 2 large eggs, at room temperature
- 1 teaspoon vanilla extract
- 1 teaspoon ground cinnamon
- 1/2 teaspoon ground nutmeg
- 1/4 teaspoon ground ginger
Instructions
- Prep the Crust: Preheat your oven to 325°F (163°C). Line an 8×8-inch baking pan with parchment paper, leaving an overhang for easy removal. In a bowl, mix graham cracker crumbs, sugar, and melted butter until the mixture is like wet sand. Press the mixture firmly into the bottom of the pan to form an even layer. Bake for 10 minutes to set the crust.
- Make the Cheesecake Filling: While the crust cools slightly, beat the softened cream cheese and sugar in a large bowl until smooth and creamy without lumps. Add pumpkin puree, eggs, vanilla extract, cinnamon, nutmeg, and ginger. Mix thoroughly until all ingredients are well combined, scraping down the bowl sides as needed.
- Assemble and Bake: Pour the pumpkin cheesecake filling evenly over the pre-baked crust and smooth the surface with a spatula. Bake in the preheated oven for about 40 minutes, or until the center is slightly jiggly but mostly set. If the center is too wobbly, bake an additional 5 minutes.
- Cool and Chill: Remove from oven and let the bars cool at room temperature for 1 hour. Transfer to the refrigerator and chill for at least 4 hours or overnight for best texture and flavor.
- Slice and Serve: Using the parchment paper overhang, lift the bars out of the pan. Use a knife warmed under hot water and dried to slice into 12-16 squares for clean cuts. Serve chilled and enjoy your delicious pumpkin cheesecake bars!
Notes
- Ensure cream cheese is fully softened to avoid lumps in the filling.
- If spices are missing, pumpkin pie spice can substitute the cinnamon, nutmeg, and ginger combination.
- Variations include adding a chocolate drizzle, swapping part of the crust for nuts, or folding white chocolate chips into the filling.
- For gluten-free option, use gluten-free graham crackers.
- Add 2 tablespoons maple syrup or 1 tablespoon bourbon to the filling for an extra flavor twist.
- Chilling time is essential for the bars to set properly and develop flavor.
- Use a hot knife to slice for neat pieces and easier cutting.
Keywords: Pumpkin cheesecake bars, pumpkin dessert, fall dessert, creamy pumpkin bars, cheesecake bars, pumpkin recipe, holiday dessert