Pumpkin Brownies Recipe
Introduction
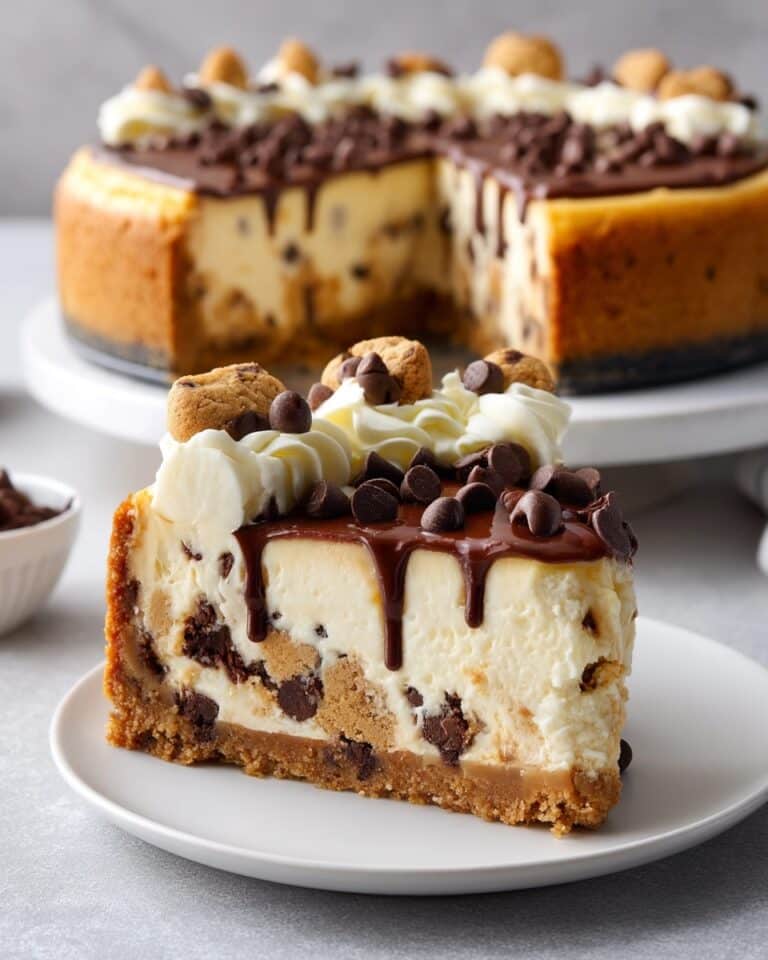
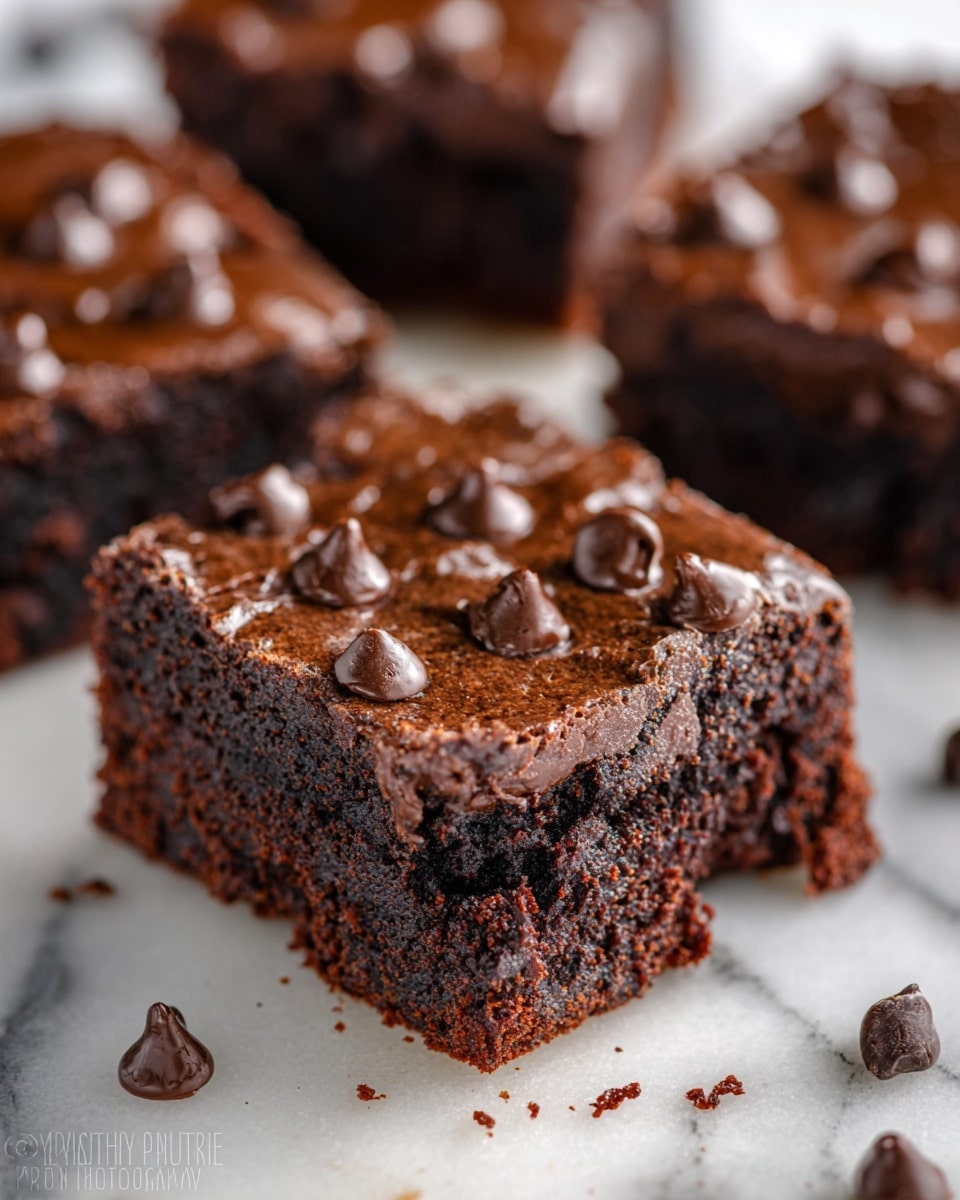
These pumpkin brownies are a delicious twist on a classic treat, combining rich chocolate with the subtle sweetness of pumpkin. They’re moist, fudgy, and perfect for fall or anytime you want a comforting dessert with a healthy boost.
Ingredients
- ¾ cup (180 g) pumpkin puree
- ⅓ cup (80 g) almond butter (creamy, or preferred nut butter)
- 4 tbsp (60 g) maple syrup (or honey)
- ¼ cup (30 g) cocoa powder
- 1 tsp vanilla extract
- ⅙ tsp salt
- Chocolate chips (quantity as desired)
Instructions
- Step 1: Preheat your oven to 350°F (175°C) and lightly grease or line a small baking pan with parchment paper.
- Step 2: In a mixing bowl, combine the pumpkin puree, almond butter, maple syrup, vanilla extract, and salt. Stir until smooth and well blended.
- Step 3: Sift in the cocoa powder and gently fold it into the wet mixture until fully incorporated and no lumps remain.
- Step 4: Fold in the chocolate chips, reserving a few to sprinkle on top if you like.
- Step 5: Pour the batter into your prepared pan, smooth the top, and sprinkle the reserved chocolate chips over it.
- Step 6: Bake for 20–25 minutes, or until a toothpick inserted in the center comes out mostly clean with just a few moist crumbs.
- Step 7: Allow the brownies to cool completely in the pan before cutting into squares and serving.
Tips & Variations
- For a nut-free version, substitute almond butter with sunflower seed butter or tahini.
- Add a pinch of cinnamon or pumpkin pie spice to enhance the pumpkin flavor.
- Mix in chopped nuts or dried fruit for added texture and taste.
- Use dark chocolate chips for a richer chocolate experience.
Storage
Store pumpkin brownies in an airtight container at room temperature for up to 3 days. For longer storage, keep them refrigerated for up to a week or freeze for up to 3 months. Reheat briefly in the microwave before serving to restore softness.
How to Serve
Serve this delicious recipe with your favorite sides.
FAQs
Can I use canned pumpkin for this recipe?
Yes, canned pumpkin puree works perfectly and is a convenient choice. Just make sure not to use pumpkin pie filling, which contains added spices and sweeteners.
Are these brownies gluten-free?
Yes, these brownies are naturally gluten-free as they don’t contain any flour. Just be sure any added mix-ins like chocolate chips are certified gluten-free.
PrintPumpkin Brownies Recipe

These Pumpkin Brownies are a moist and decadent treat that combine the rich flavors of pumpkin and cocoa. Made with almond butter and natural sweeteners like maple syrup, they offer a healthier spin on traditional brownies without sacrificing flavor. Perfect for fall or any time you crave a chocolatey, spiced dessert.
- Prep Time: 10 minutes
- Cook Time: 20-25 minutes
- Total Time: 30-35 minutes
- Yield: 9 brownies (3×3-inch squares) 1x
- Category: Dessert
- Method: Baking
- Cuisine: American
- Diet: Vegetarian
Ingredients
Wet Ingredients
- ¾ cup (180 g) pumpkin puree
- ⅓ cup (80 g) almond butter (creamy or preferred nut butter)
- 4 tbsp (60 g) maple syrup (or honey)
- 1 tsp vanilla extract
Dry Ingredients
- ¼ cup (30 g) cocoa powder
- ⅙ tsp salt
Add-ins
- Chocolate chips (quantity as desired, about ¼ cup recommended)
Instructions
- Preheat the Oven: Preheat your oven to 350°F (175°C) and line an 8×8 inch baking pan with parchment paper or grease it lightly for easy brownie removal.
- Mix Wet Ingredients: In a large mixing bowl, combine the pumpkin puree, almond butter, maple syrup, and vanilla extract. Stir until the mixture is smooth and fully blended.
- Add Dry Ingredients: Sift in the cocoa powder and salt to the wet mixture to avoid lumps. Mix thoroughly until the batter is uniform and rich in color.
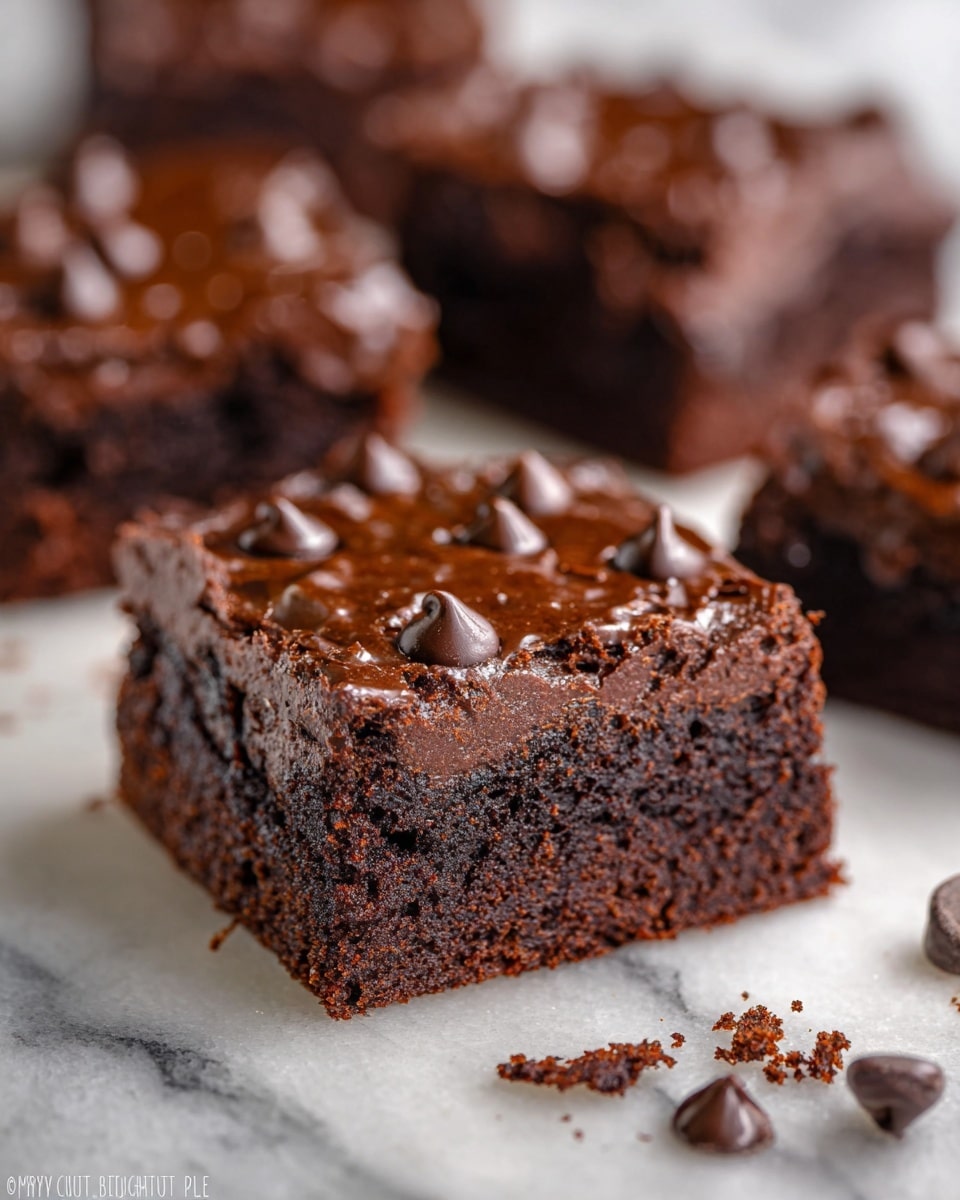
- Incorporate Chocolate Chips: Fold in the chocolate chips evenly throughout the batter, reserving a few to sprinkle on top if desired.
- Bake: Pour the batter into the prepared baking pan and smooth the top with a spatula. Bake in the preheated oven for 20-25 minutes or until a toothpick inserted in the center comes out with a few moist crumbs.
- Cool and Serve: Let the brownies cool completely in the pan on a wire rack before cutting into squares. This helps them set and improves texture.
Notes
- You can substitute maple syrup with honey for a different but equally sweet flavor.
- Use any nut butter you prefer, such as peanut or cashew butter, but almond butter provides a nice, mild taste.
- Adding extra chocolate chips on top before baking creates a more appealing presentation and extra gooey texture.
- Store brownies in an airtight container at room temperature for up to 3 days or refrigerate for up to a week.
- For a gluten-free option, ensure all ingredients are certified gluten-free.
Keywords: pumpkin brownies, healthy brownies, almond butter brownies, gluten-free brownies, fall dessert, pumpkin dessert